Peckham · SE15
Walk-in Shower Room
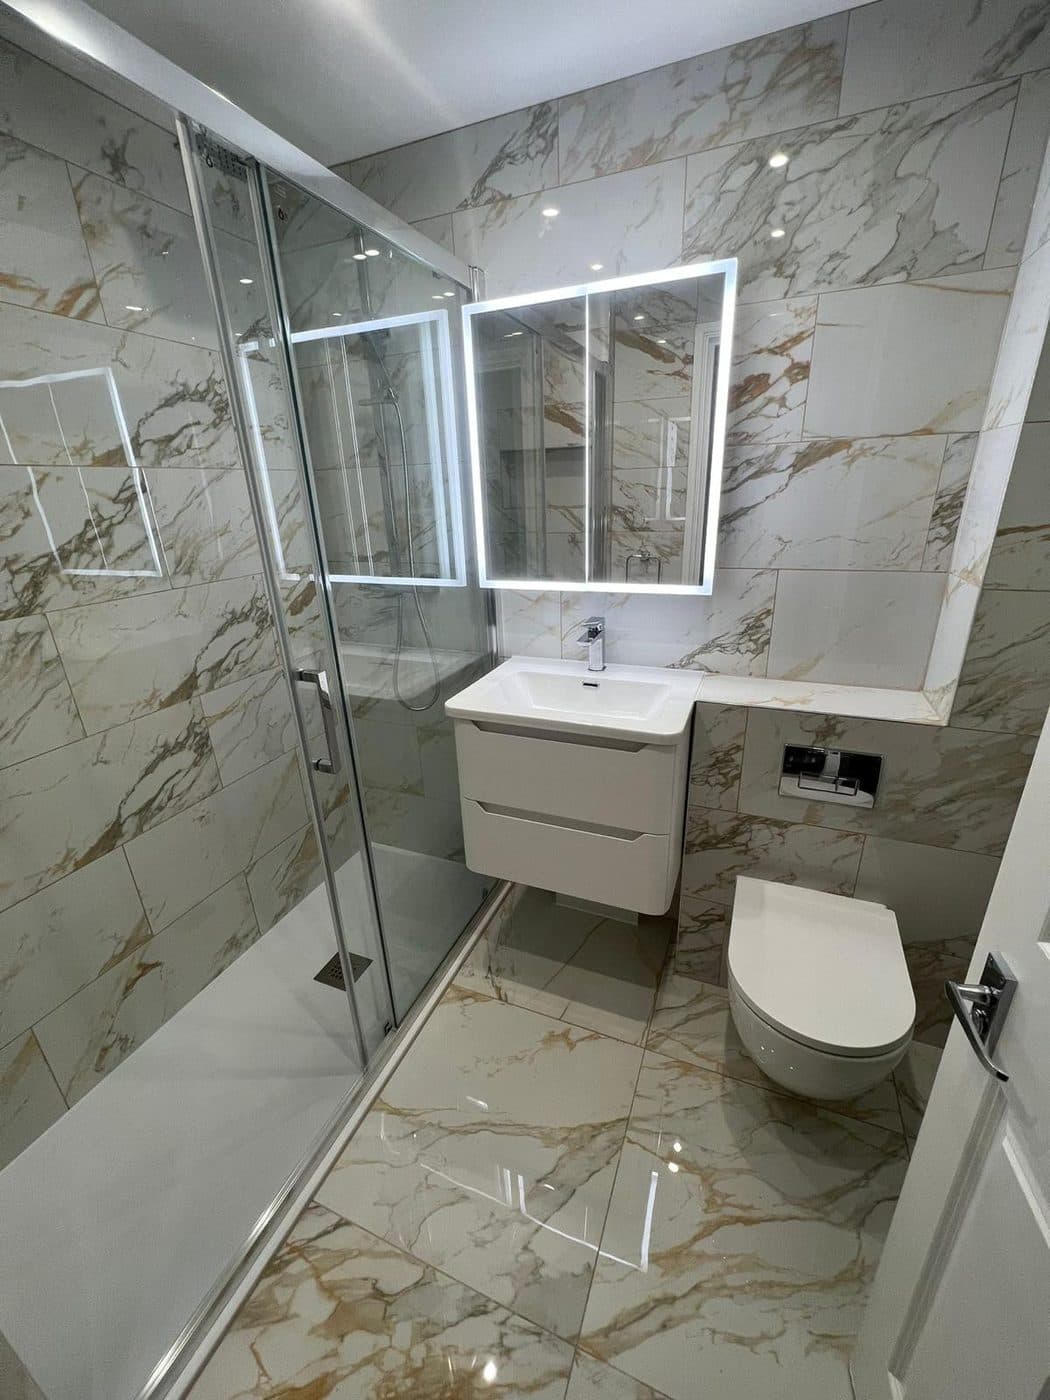
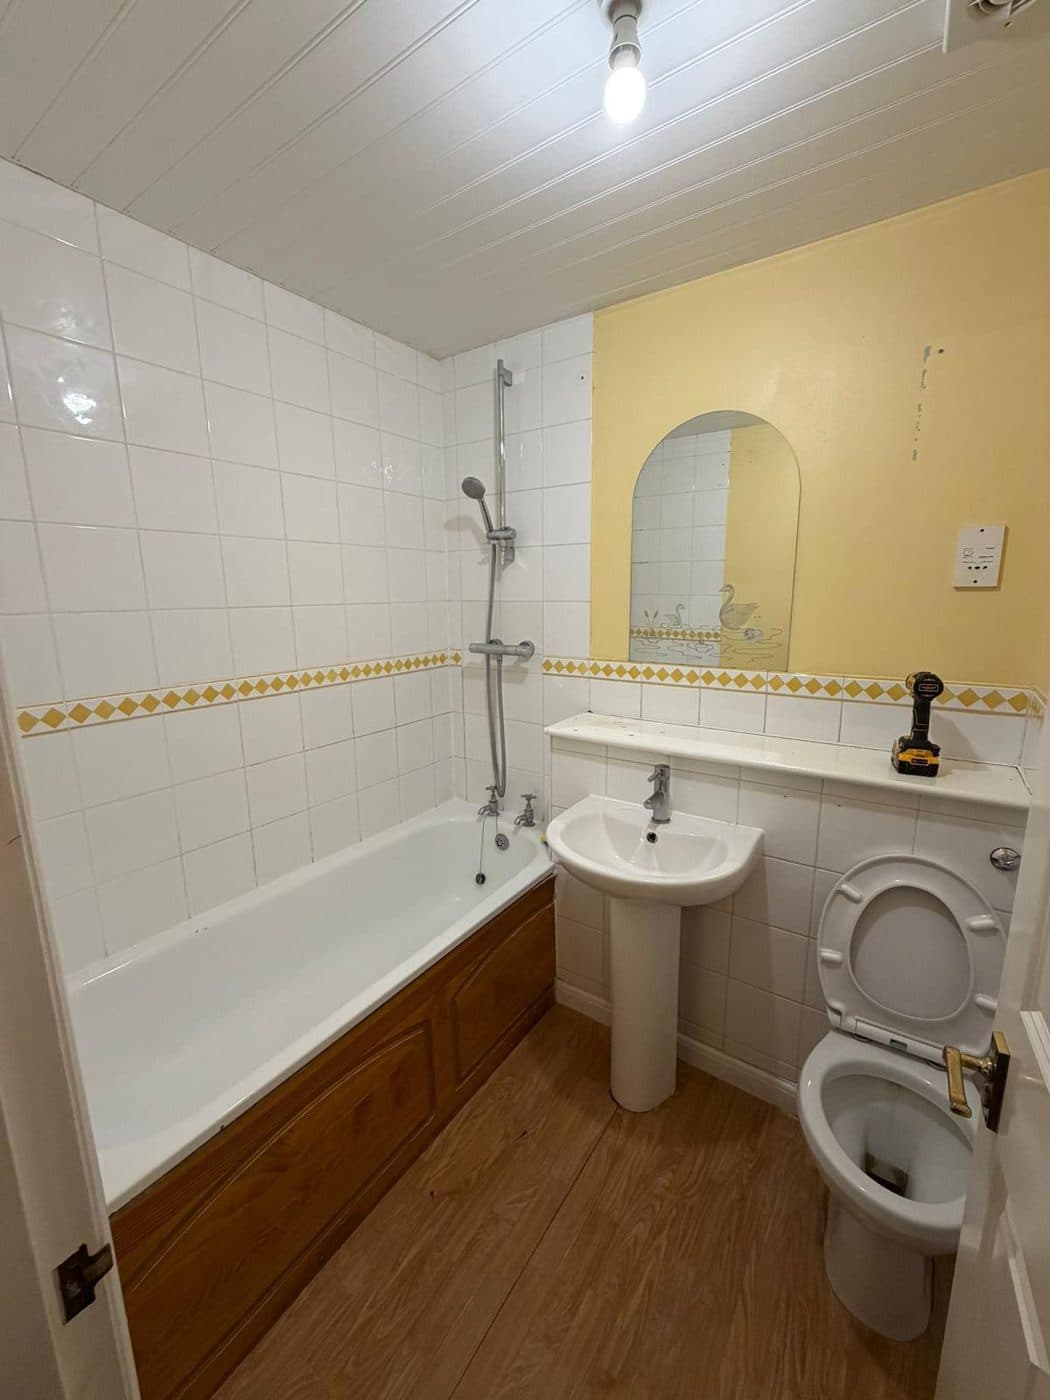
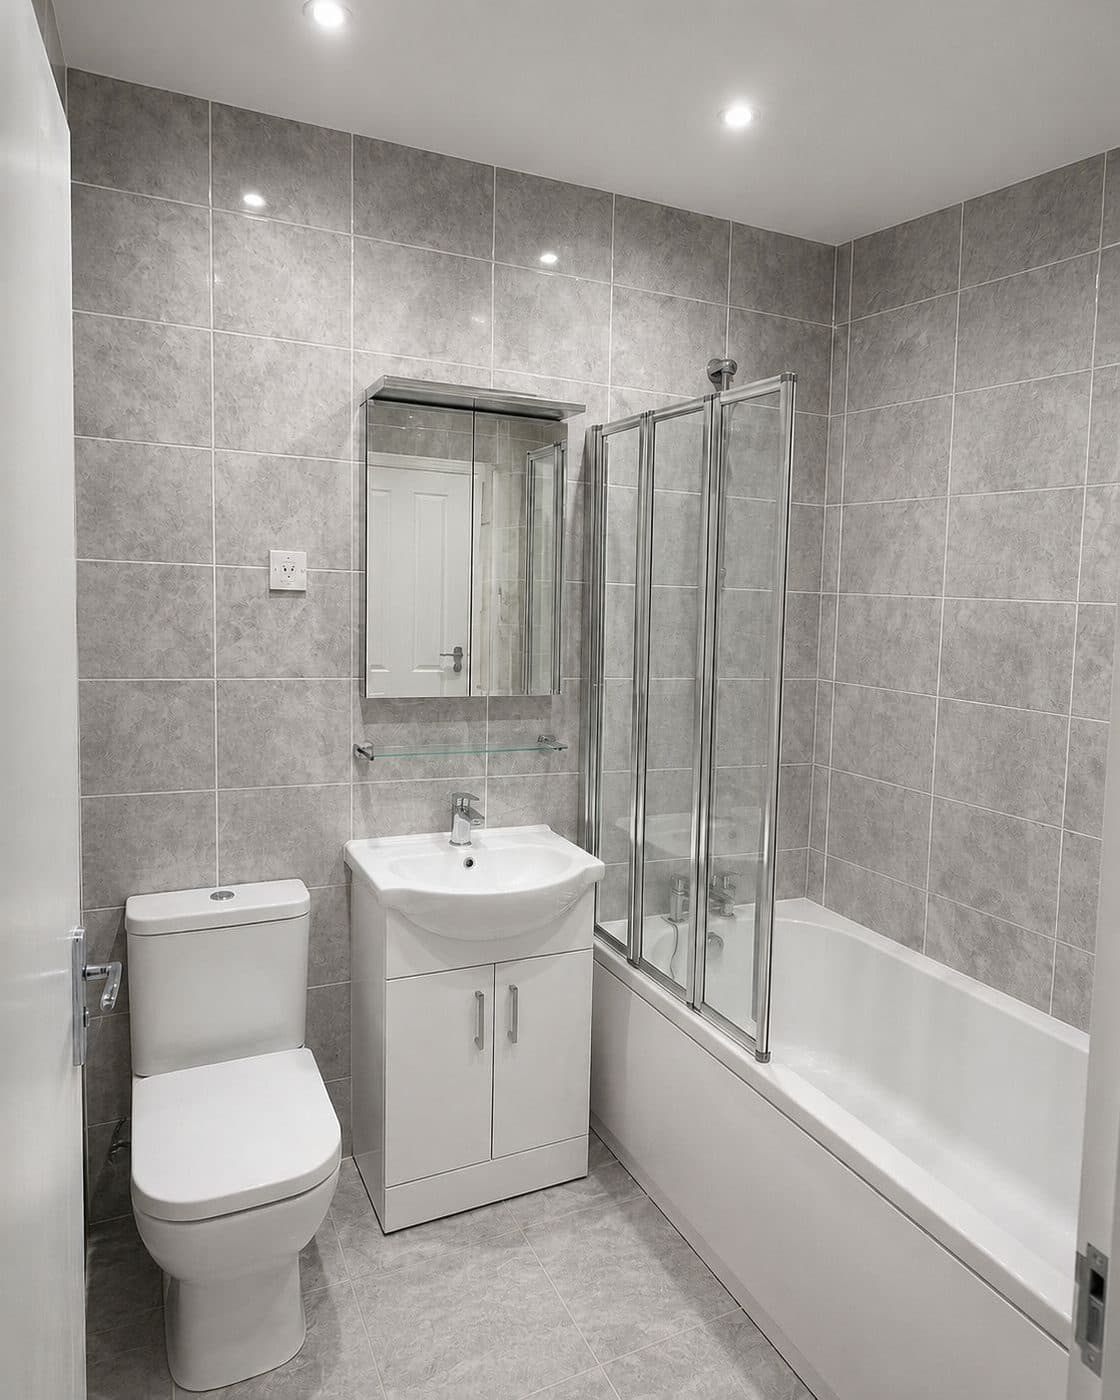
A dated bathroom in Peckham, reworked into a calm, modern walk-in shower room. The old suite, tiling, radiator and parts of the ceiling came out, and the plumbing was reset around new positions for the shower, basin and toilet, with boxing built to hide the pipework. A new dropped ceiling carries four recessed spotlights, the shower area was tanked before tiling, and a niche was built into the wall for toiletries so nothing has to sit on the floor. Full-height marble-effect porcelain runs through the room, set out so the veining stays even around the niche, the corners and the doorway, which is the whole job in a space this size. Two weeks, and the room feels far larger than its footprint.
More about our bathroom renovations →- Area
- Peckham · SE15
- Duration
- Two weeks
- Work
- Bathroom renovation
The transformation
Before & after
Drag the slider to reveal the transformation.
 Before
How it was done
The full transformation, stage by stage
Every photo below is from this job, in the order the work happened. Tap any one to see it full size.
Stage 1: The starting point
The customer wanted the old bathroom completely refurbished as a modern walk-in shower room: a new layout, upgraded plumbing and lighting, concealed pipework, full-height marble-effect tiling and a practical built-in niche for toiletries.
The old bathroom: bath, pedestal basin and close-coupled toilet, tiled to half height Stage 2: Strip-out and first fix
The old suite, tiling, radiator and sections of the ceiling came out. With the floor up, the plumbing was reset around the new positions for the shower, basin and toilet, and a new dropped ceiling was framed to carry four recessed spotlights.
Floor up: new pipework and the soil run between the joists The dropped ceiling framed out, with backer board going on the walls Stage 3: Waterproofing and the niche
The shower area was tanked before any tile went up, the built-in toiletries niche was formed in the wall, and boxing was built to conceal the pipework.
Shower area boarded and tanked, tray in and the niche formed Stage 4: Tiling
Full-height marble-effect porcelain, set out so the veining stays balanced around the niche, the corners and the doorway. The walls went up first, then the floor, on levelling clips so every joint sits flush.
The first marble-effect tiles going up against the backer board Floor tiling on levelling clips Stage 5: The finished shower room
New sanitaryware and fittings, then grouting, sealing, ceiling decoration and the door repainted, with all the old bathroom taken away. The room feels far larger than its footprint.
From the door: walk-in shower, wall-hung vanity and backlit mirror The walk-in enclosure with its finished niche Wall-hung vanity, backlit mirror and the wall-hung toilet The chrome heated towel rail beside the toilet Vanity, toilet and towel rail from the shower side The shower brassware against the veining
The part you don't see
A balanced tile layout in a compact room
Strongly patterned marble-effect tiles have to be set out with care, or the veining bunches in one corner and the joints drift. In a small room the layout also has to work around the recessed niche, the corners, the doorway and the boxing that hides the pipework. The plumbing was adapted to the new layout and neatly concealed without taking anything away from the usable shower space.
What went in
- Bespoke walk-in shower area
- Built-in tiled toiletries niche
- Full-height marble-effect porcelain tiling
- Concealed plumbing and custom boxing
- Dropped ceiling with four recessed spotlights
- New sanitaryware and fittings
★ 5.0 · 30+ five-star reviews
Planning a bathroom renovation?
Book a free, no-obligation site visit and we'll show you what's possible in your home.
Book a Free Site VisitFree visit · No obligation · We call ahead