Kingston upon Thames · KT1
Kitchen Renovation
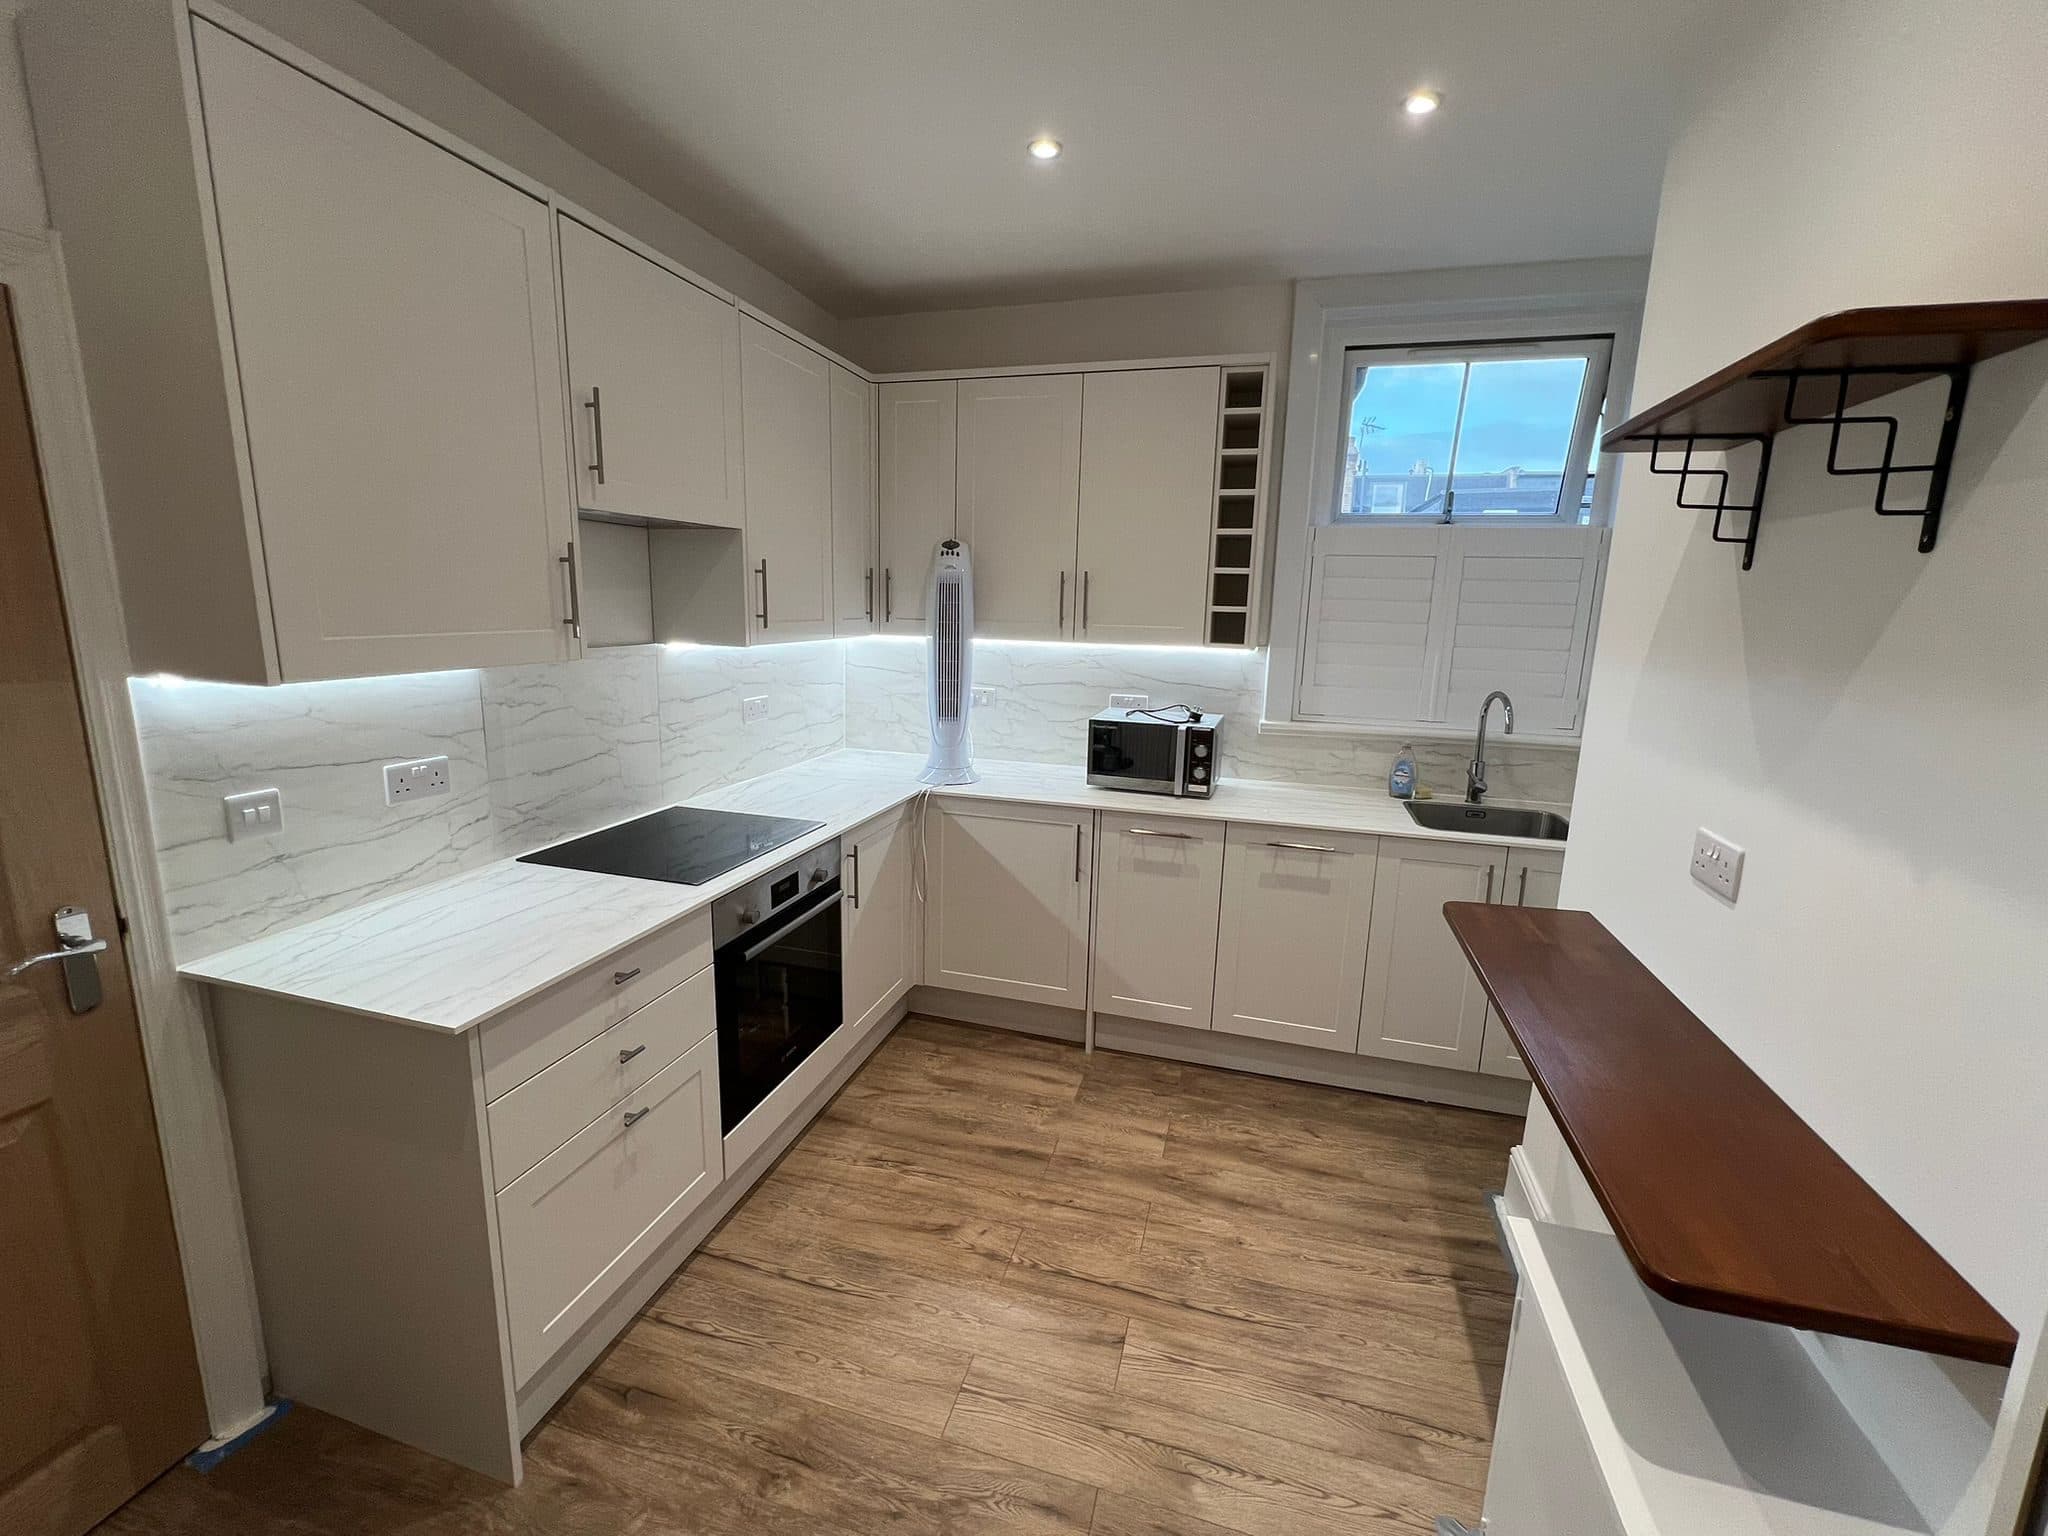
An outdated kitchen and utility room in Kingston upon Thames, rebuilt as two rooms that work together. Both were stripped out completely, replumbed and rewired for the new appliance, socket and lighting positions, and the walls and ceilings made good. The floors were the real work: uneven enough to need extensive preparation and levelling before anything could go down, because new flooring and new cabinetry both need a flat base to sit true. New units, worktops, splashbacks, sinks and integrated appliances followed across both rooms, then decoration, testing and snagging. Seven weeks, and a clear example of the kitchen renovations and refurbishments we carry out across Kingston and South West London.
More about our kitchen renovations →- Area
- Kingston upon Thames · KT1
- Duration
- Seven weeks
- Work
- Kitchen renovation
The transformation
Before & after
Drag the slider to reveal the transformation.
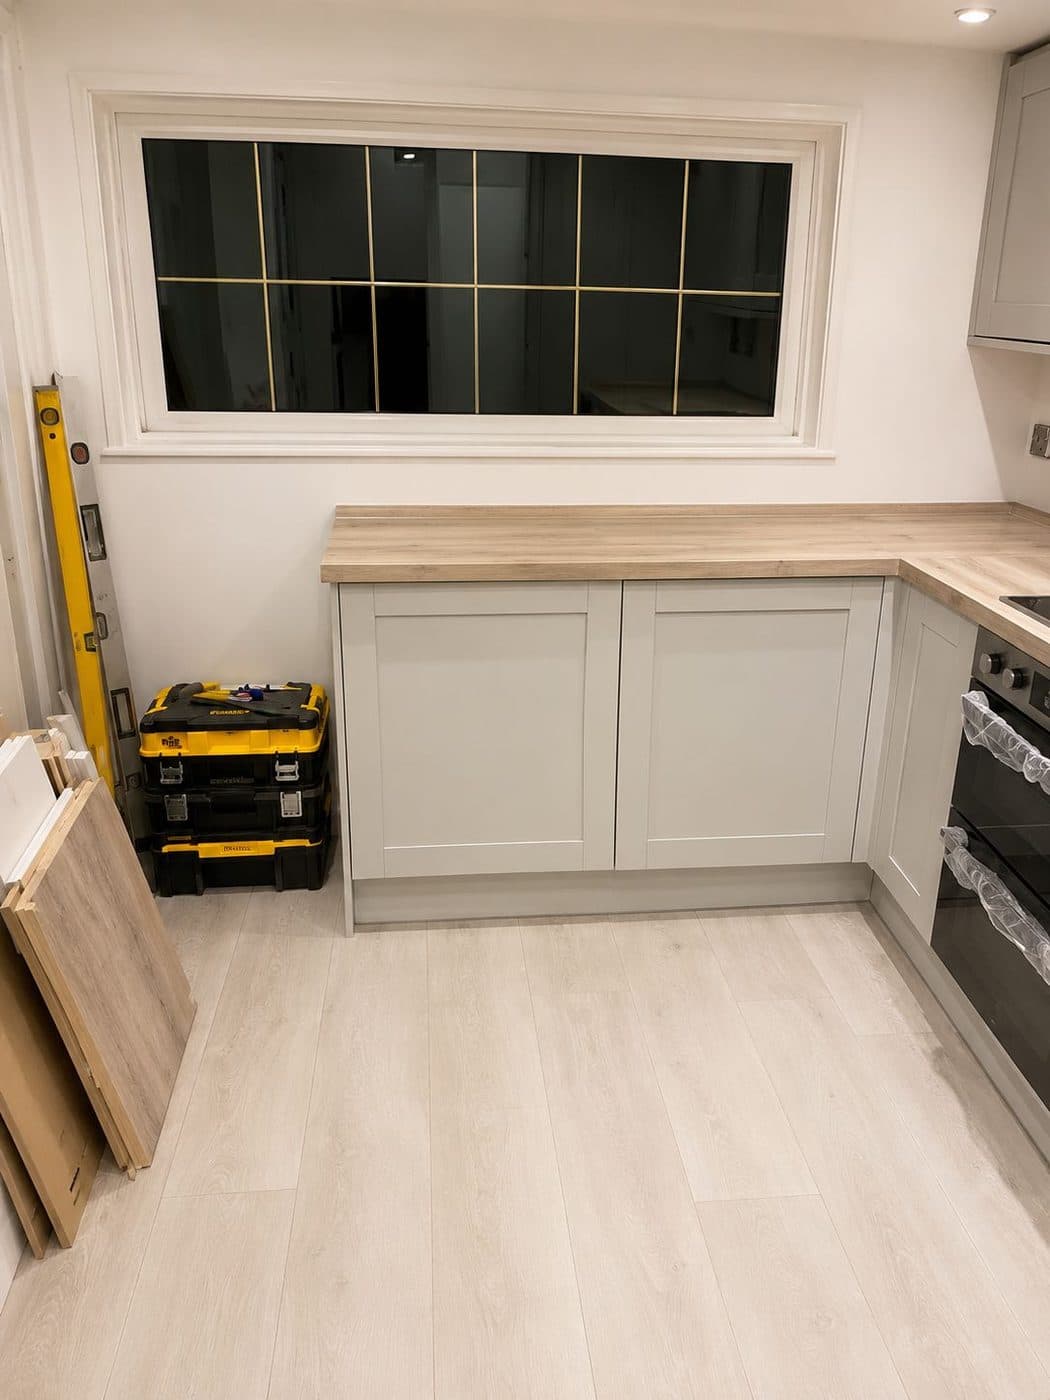
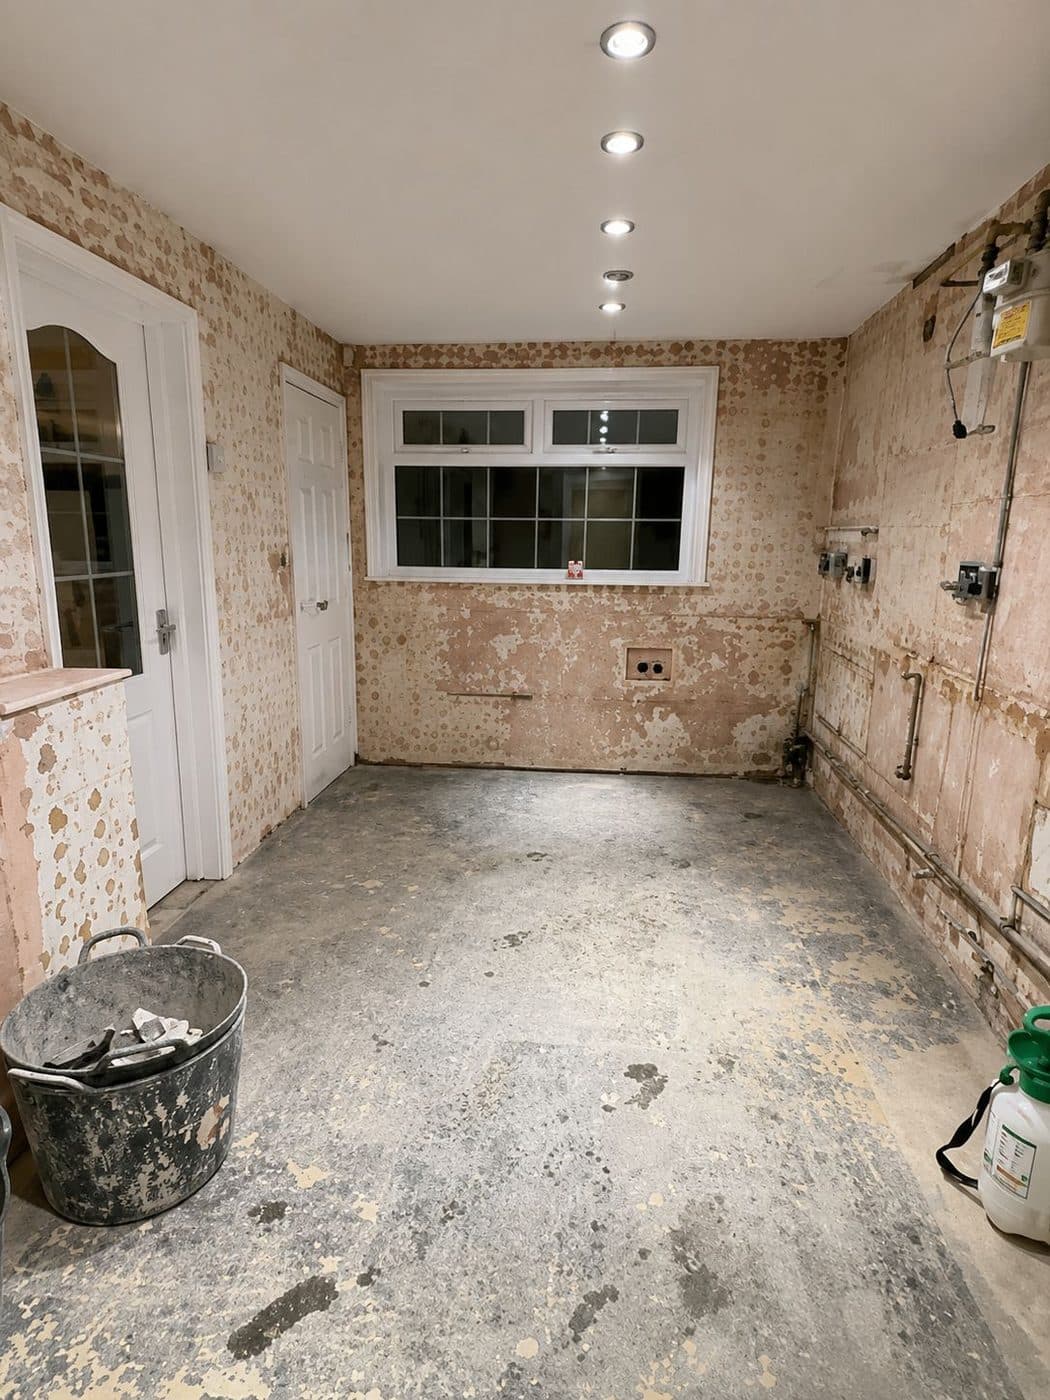 Before
How it was done
The full transformation, stage by stage
Every photo below is from this job, in the order the work happened. Tap any one to see it full size.
Stage 1: Strip-out
The customer wanted the kitchen and the utility room renovated together, as two practical, coordinated spaces with better storage, modern appliances and a high-quality finish. Both rooms were stripped back completely: cabinets, worktops, appliances and finishes out, the old wall finishes chipped back and the floor taken up.
The kitchen stripped to bare walls, with the old floor finish taken up Stage 2: First fix and making good
Complete replumbing and a full electrical installation for the new appliance, socket and lighting positions, then the walls and ceilings repaired and skimmed. The floors took the most work: uneven enough to need extensive preparation and levelling before any flooring or cabinet could go down.
Walls skimmed and the floor levelled, ready for the new flooring Stage 3: Fitting out
New flooring first, then the kitchen and utility cabinets, worktops, sinks and taps, with the kitchen and laundry appliances connected and the splashbacks fitted.
The first run of units going in beneath the leaded window Stage 4: The finished kitchen and utility room
Painting and decorating throughout, then testing, snagging and handover. Two coordinated rooms with considerably more storage and a clean, carefully detailed finish.
Shaker units and wood-effect worktop below the leaded window The sink run, with the brass tap against the wood-effect worktop
The part you don't see
Floors that were nowhere near level
The condition and level of the existing floors was the main technical problem. Significant preparation and levelling were needed to give the new flooring a stable, even base and to let the cabinets be fitted accurately. Running plumbing, drainage and electrics across two separate rooms also meant fixing the position of every sink, appliance, cabinet and worktop before first fix, so that each connection landed exactly where the finished layout needed it.
What went in
- Kitchen and utility room renovated together
- Complete replumbing and rewiring
- Extensive floor preparation and levelling
- New cabinetry in both rooms
- New worktops and splashbacks
- Integrated kitchen and laundry appliances
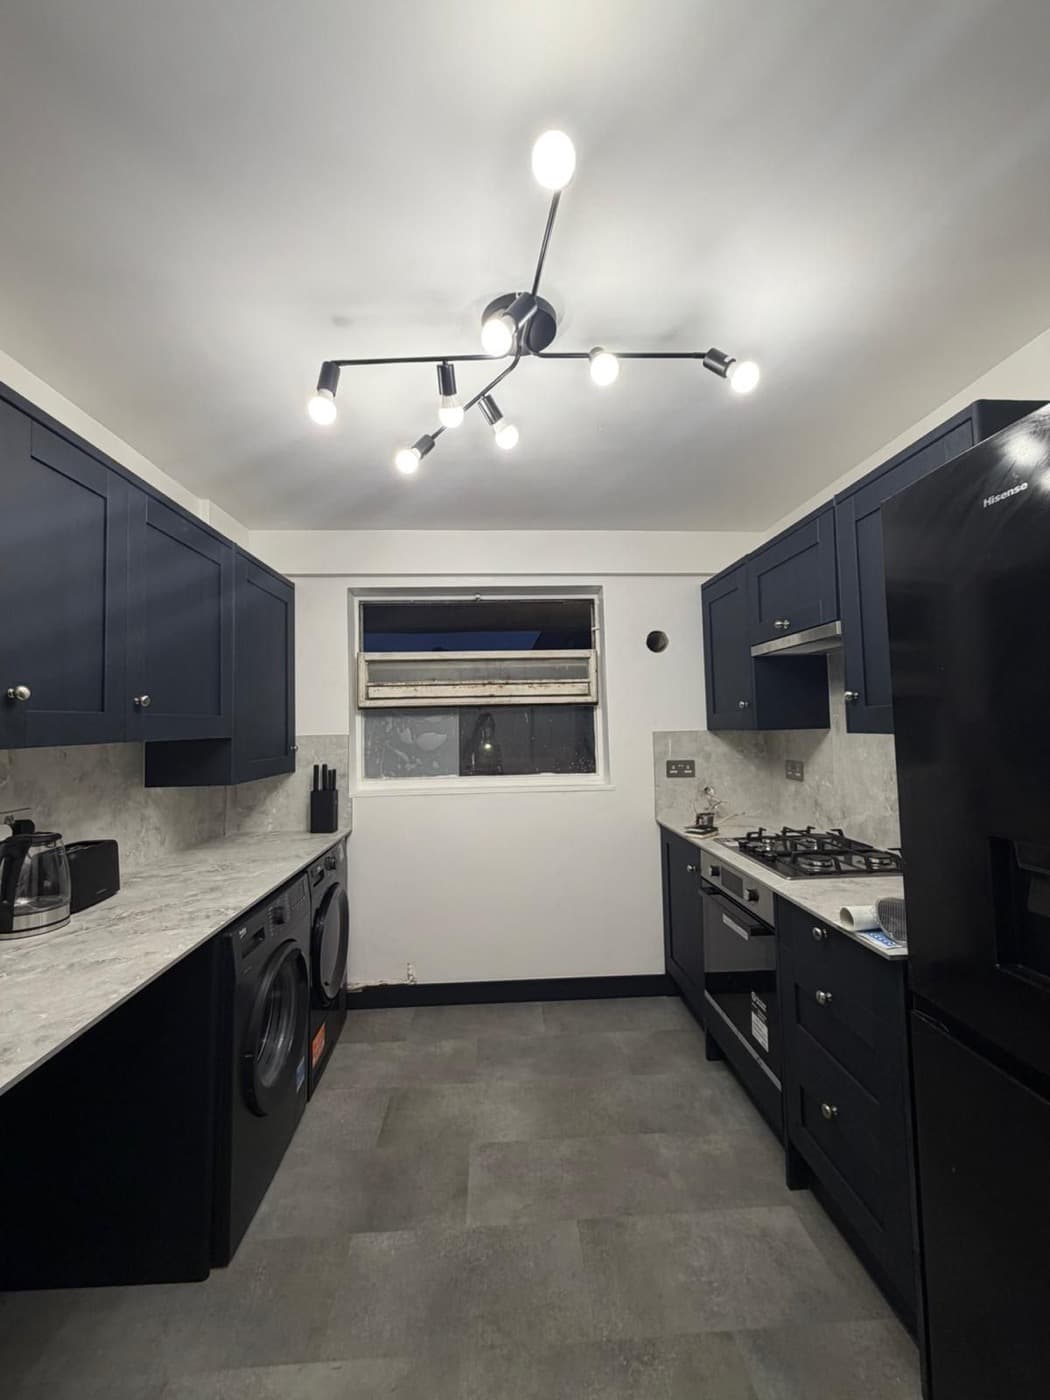
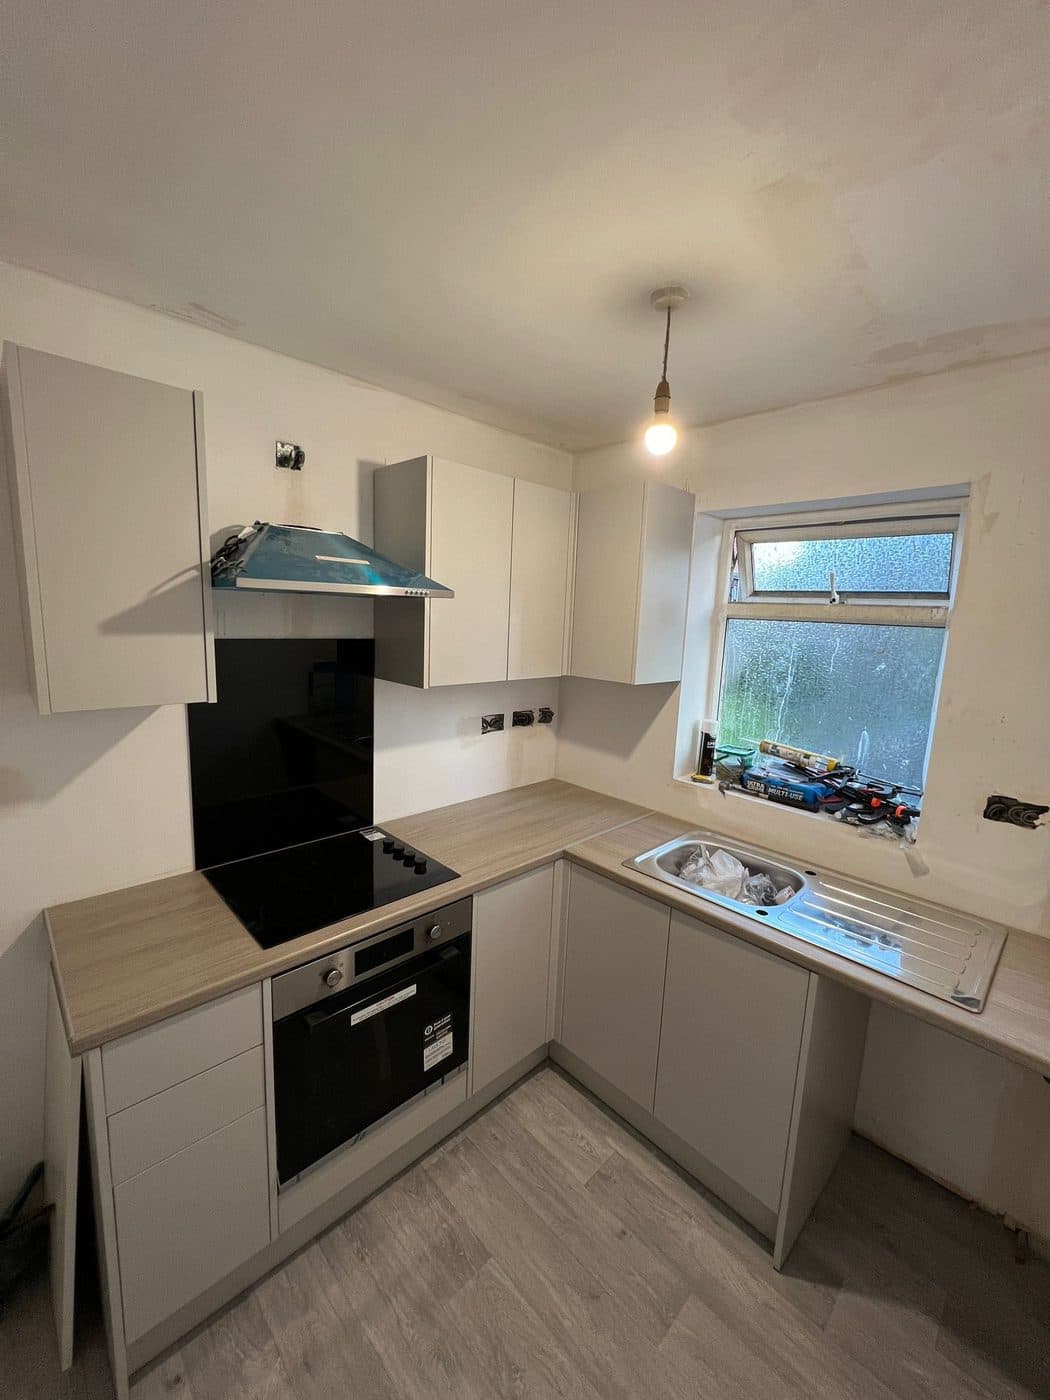
★ 5.0 · 30+ five-star reviews
Planning a new kitchen?
Book a free, no-obligation site visit and we'll show you what's possible in your home.
Book a Free Site VisitFree visit · No obligation · We call ahead