Tooting · SW17
Kitchen Renovation
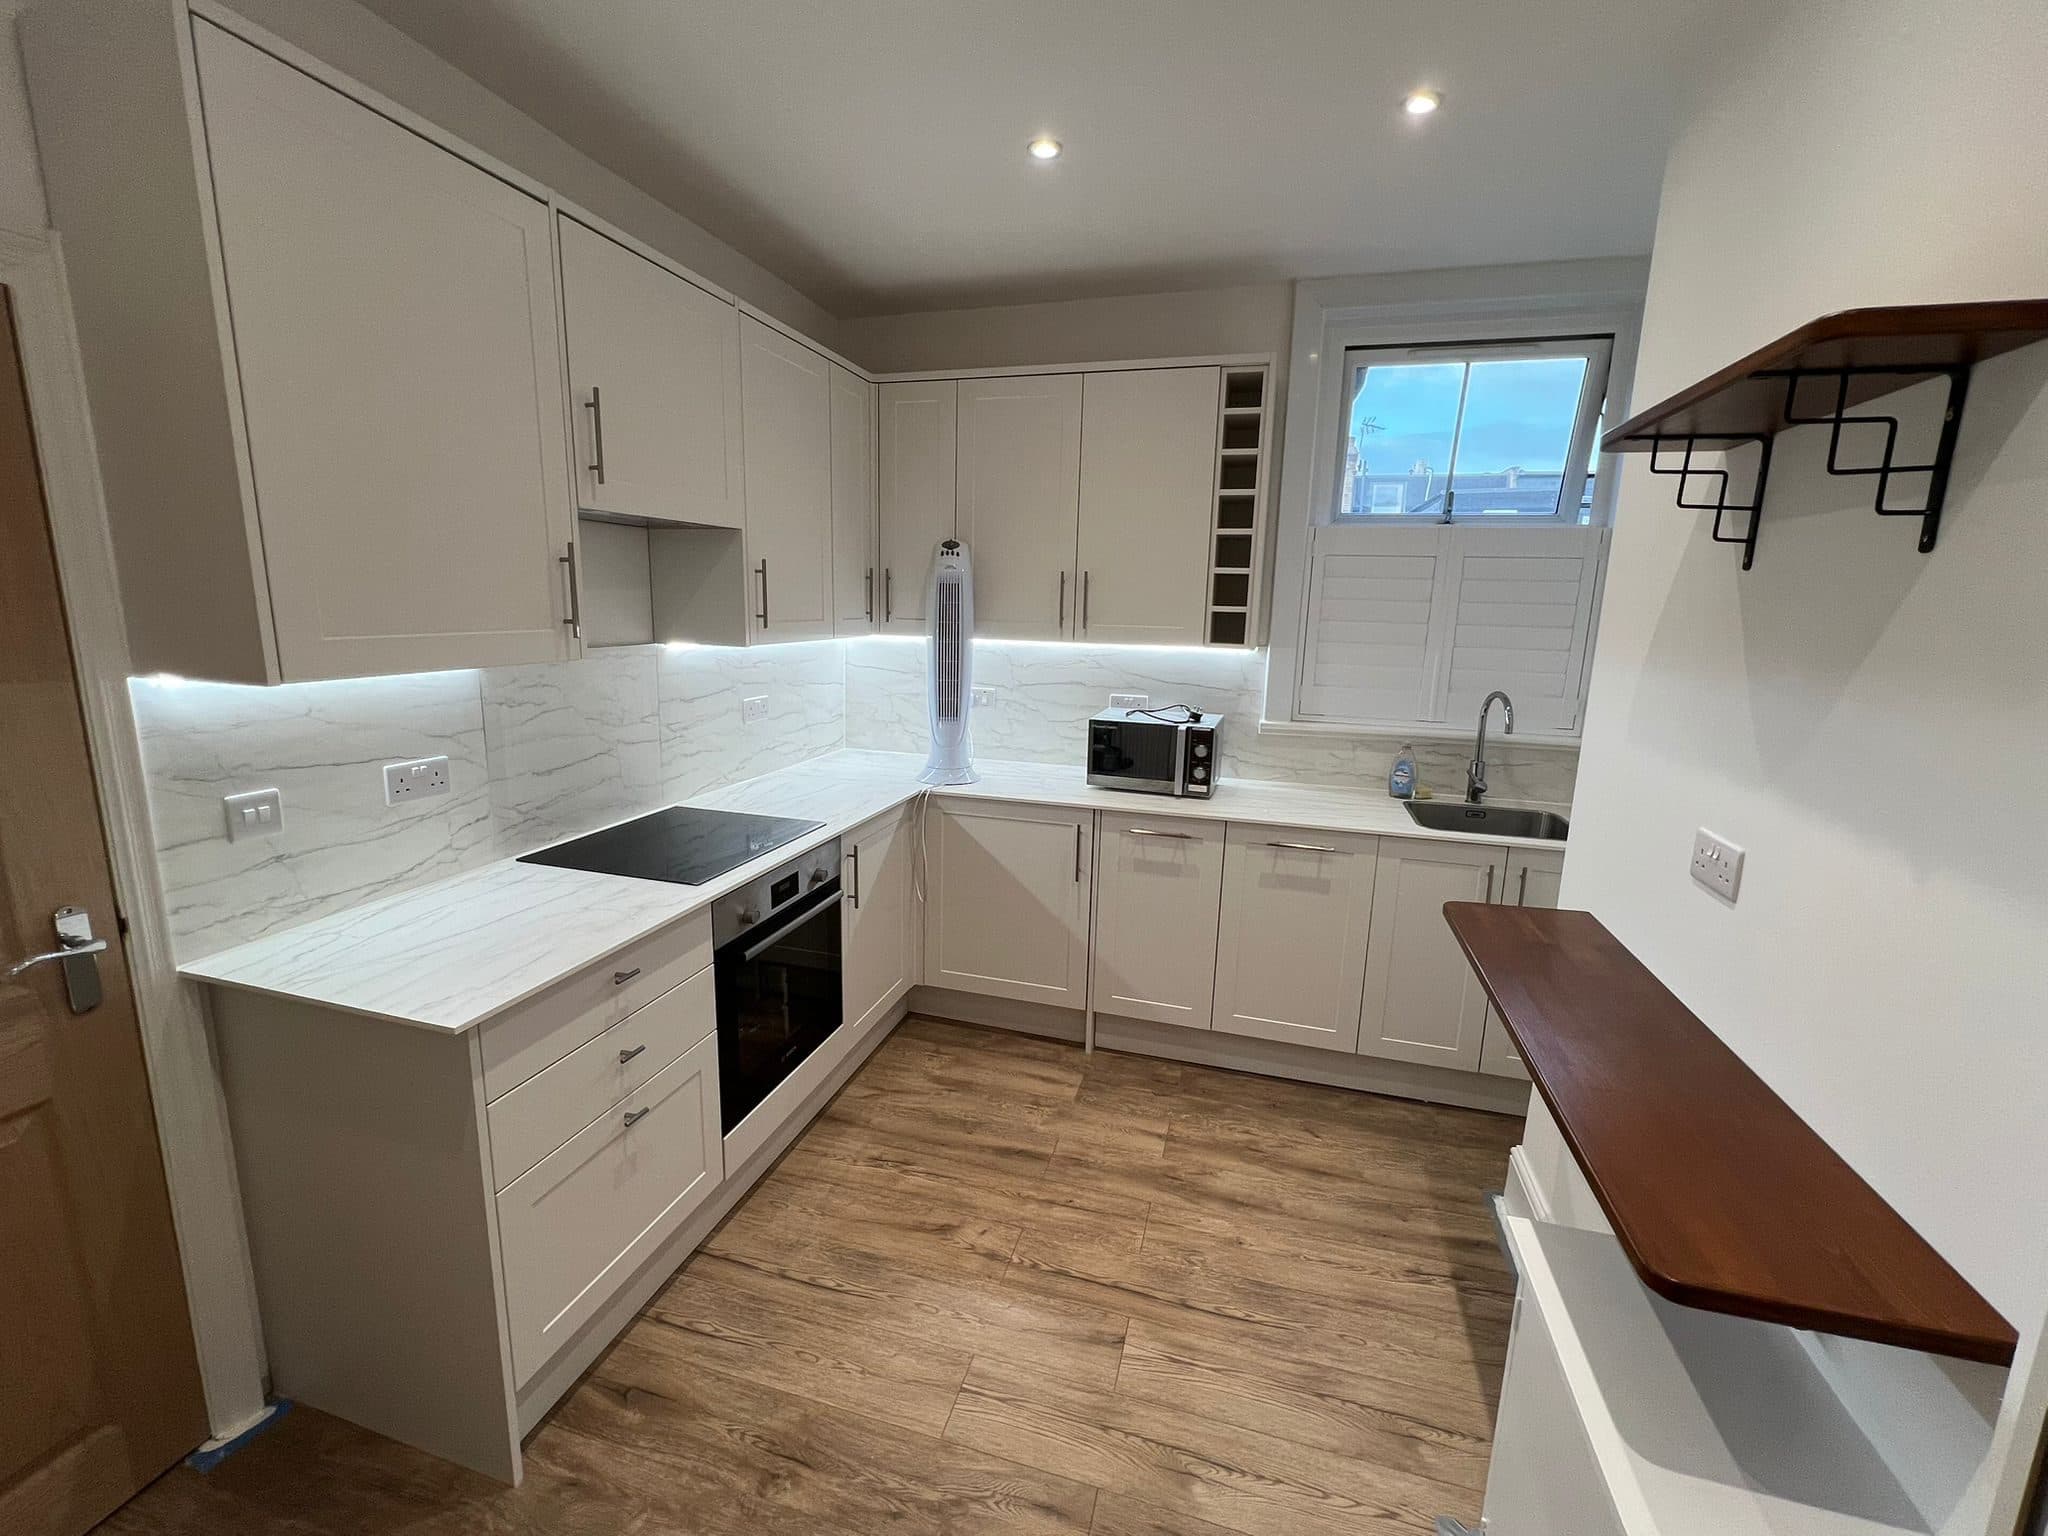
A complete kitchen renovation in Tooting, delivered in three weeks. The old kitchen and its finishes came out, and the damaged subfloor underneath was replaced, prepared and levelled to give the new floor and cabinets a strong, even base. New circuits, sockets and appliance connections went in, the plumbing and drainage were altered for the new layout, and the walls and ceiling were repaired. Every cabinet, sink and appliance position was fixed before first fix, so each pipe and socket lined up with the finished kitchen: new cabinetry, worktops, splashbacks, flooring and appliances, decorated and snagged.
More about our kitchen renovations →- Area
- Tooting · SW17
- Duration
- Three weeks
- Work
- Kitchen renovation
The transformation
Before & after
Drag the slider to reveal the transformation.
 Before
How it was done
The full transformation, stage by stage
Every photo below is from this job, in the order the work happened. Tap any one to see it full size.
Stage 1: The old kitchen
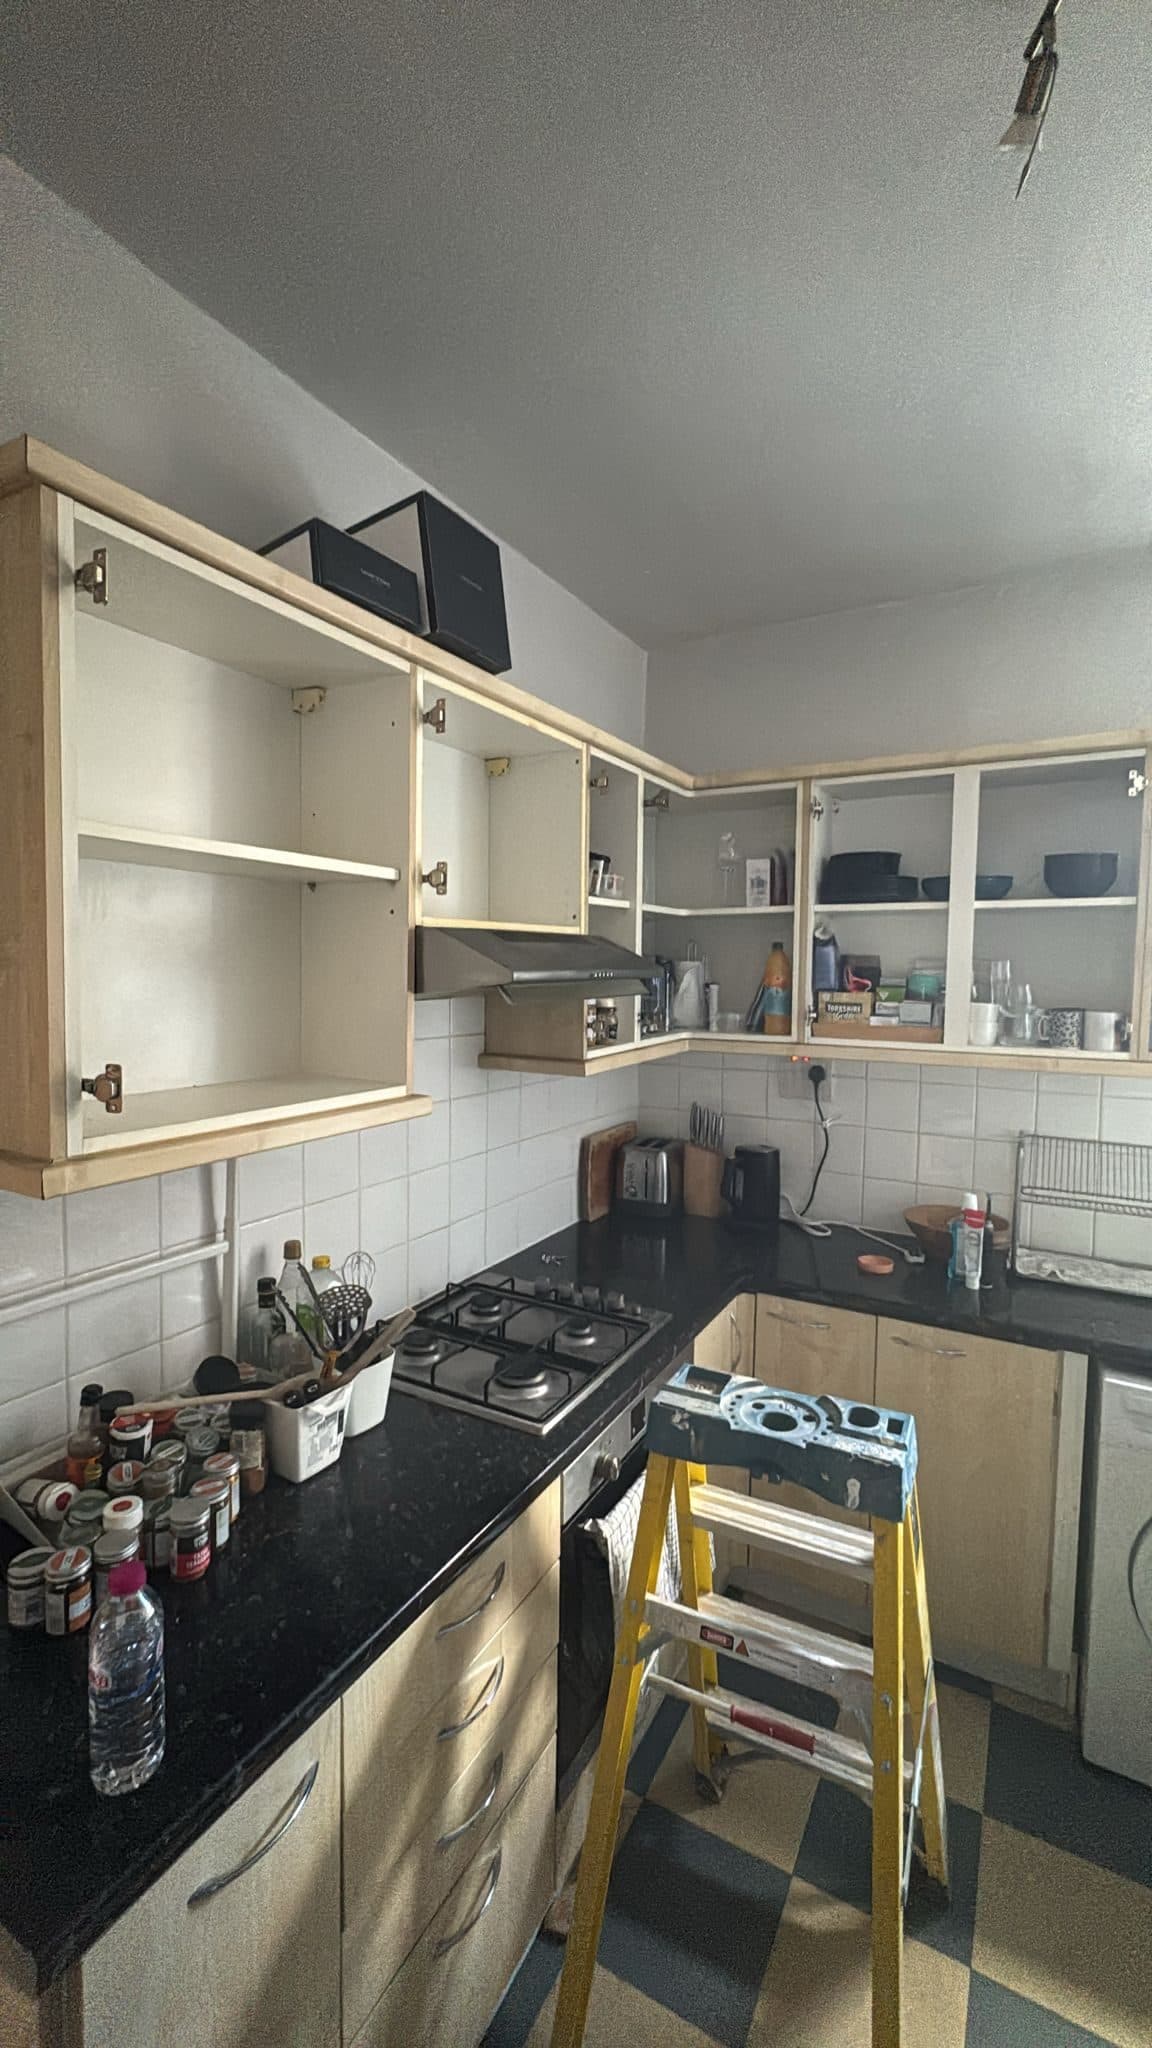
The customer wanted their kitchen completely renovated into a modern, practical space, with an improved layout, upgraded services and a durable finish. The subfloor, the plumbing and the electrical installation all needed attention before a new kitchen could go in.
The old kitchen: open wall units over a black worktop and gas hob The chequered floor and the sink run beneath the window The far end of the room, with the fridge freezer against the wall Stage 2: Strip-out and a new subfloor
The existing kitchen and its finishes were removed in full. The subfloor underneath was damaged, so it was taken up and replaced, then prepared and levelled to give the new flooring and cabinets a strong, even base.
New plywood subfloor laid, with supply pipes coming through the wall Stage 3: Services, walls and ceiling
New circuits, sockets and appliance connections went in, and the plumbing and drainage were altered to suit the new layout. Cabinet, sink and appliance positions were fixed before first fix so that every pipe and connection would line up with the finished kitchen. The walls and ceiling were then repaired and prepared.
The new floor down, with pipework in place under the window Walls and ceiling freshly plastered, with cut-outs for the downlights A plastered wall, ready for decoration Stage 4: The finished kitchen
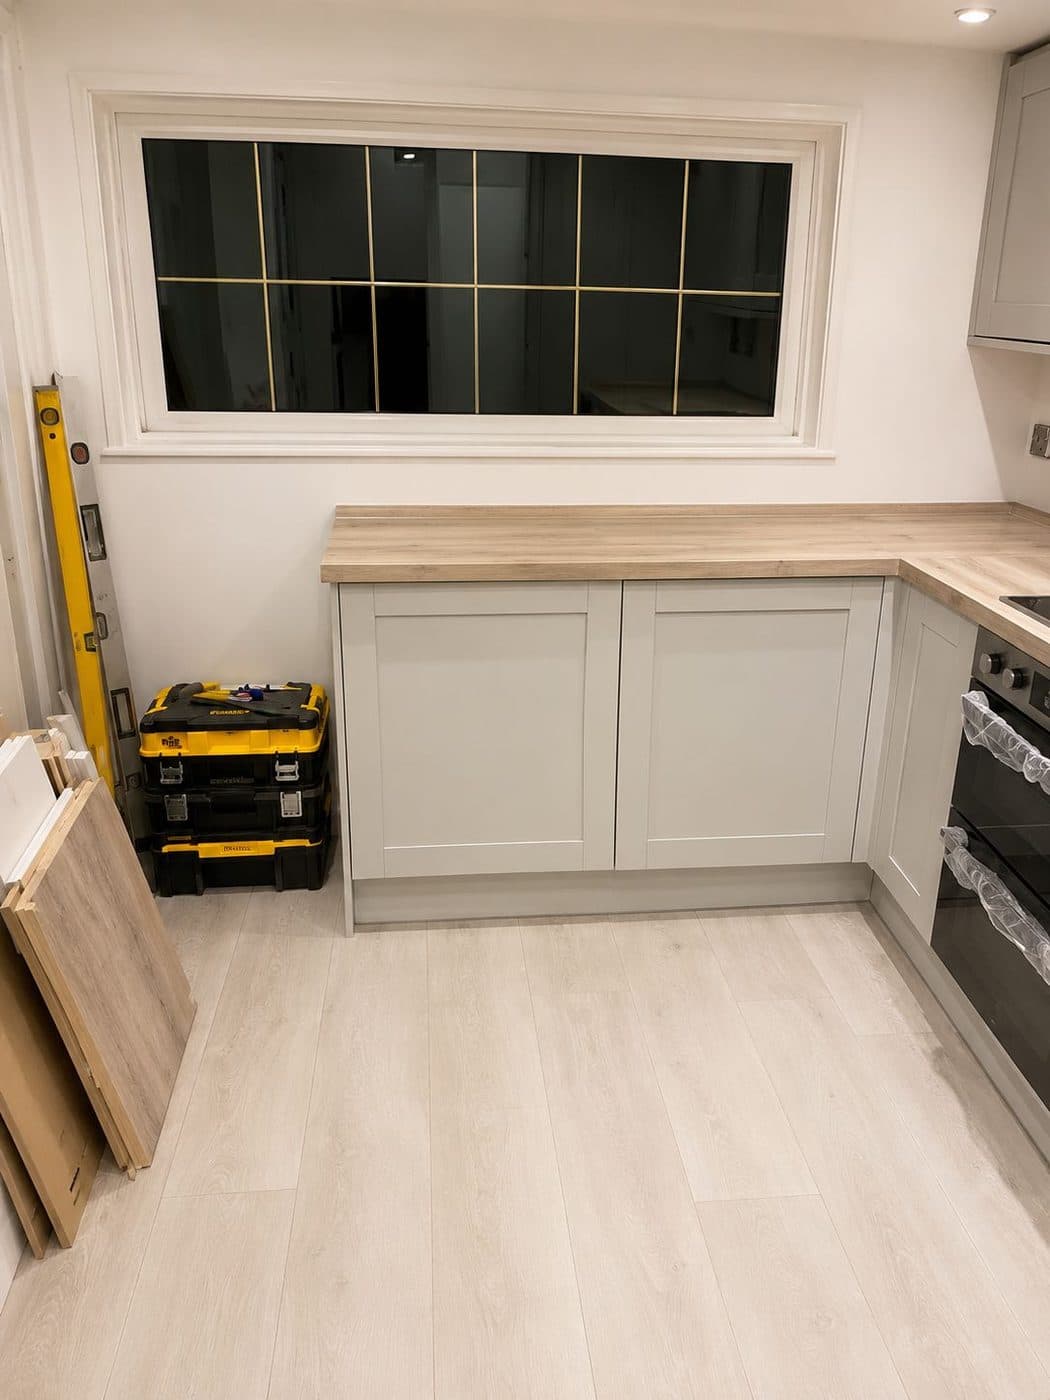
New cabinetry and worktops, the sink, tap and appliances installed and connected, then new flooring and splashbacks, painting and decorating, testing and snagging.
The finished L-shaped kitchen, with a timber-topped counter opposite Built-in oven and hob beneath marble-effect splashbacks The sink run below the window, lit from under the wall units Tall larder units beside the timber counter and shelf
The part you don't see
A subfloor that had to come out
The main challenge was the condition of the existing subfloor. It had to be removed and replaced before the new flooring and cabinetry could go in, and the replacement was carefully prepared and levelled to give the finished kitchen a strong, even base. The plumbing and electrics also had to change to suit the new layout, so the cabinet, sink and appliance positions were coordinated before first fix, letting every pipe, socket and connection align with the completed installation.
What went in
- Replacement and levelling of the subfloor
- Upgraded electrical circuits and connection points
- Plumbing and drainage alterations
- New kitchen cabinetry and worktops
- New flooring and splashbacks
- Appliance installation and connection
★ 5.0 · 30+ five-star reviews
Planning a new kitchen?
Book a free, no-obligation site visit and we'll show you what's possible in your home.
Book a Free Site VisitFree visit · No obligation · We call ahead